Mandala Carla

Mandala Carla
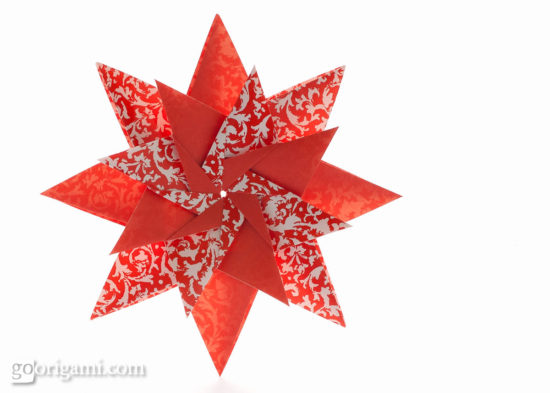
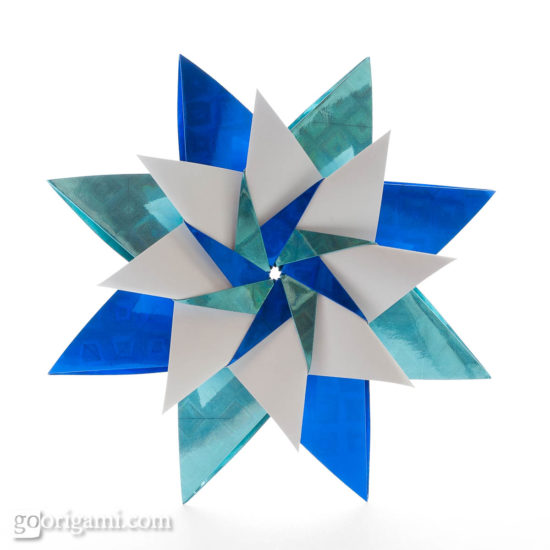
Mandala Carla is one of the latest origami designs of mine, it’s barely a few days old. It’s dedicated to an origami enthusiast from Brasil – Carla Onishi, hence the name. And why is it called “mandala”, I hear you ask. Well, firstly, I was told that’s how they call origami stars in Brazil (have no idea how true it really is, if someone could explain me the difference between “mandala” and “estrella” that would be nice). And secondly, because I felt like mandala is something meant to be looked at from one side only – which is exactly the case with this design :)

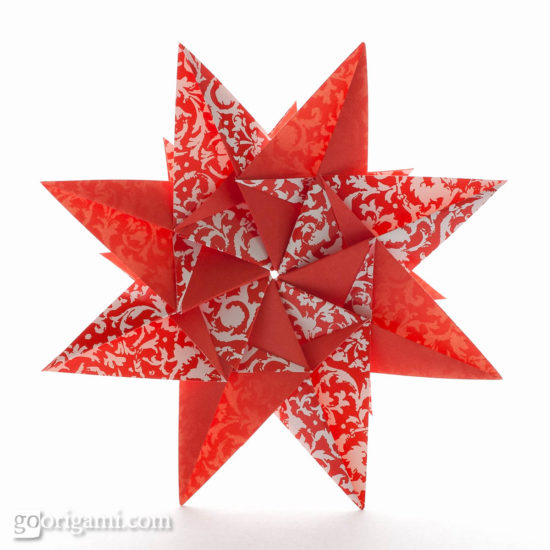
The reverse side of this model looks a bit weird, but I liked the front so much that I decided I don’t really care. Use it to decorate gifts and cards, hang it up on the wall or magnet it to the fridge.
| Name: | Mandala Carla |
|---|---|
| Type: | 8-pointed modular origami star |
| Designer: | Maria Sinayskaya |
| Created: | November 2012 |
| Paper ratio: | 1:2 rectangles |
| Units: | 8 |
| Assembled with: | no glue |
| Paper: | PAPER FROG double-sided glossy origami paper |
| Diagram: | Download PDF |
/Click on the image for the full-size version/

Happy folding and let me know how it turned out! If it didn’t — let me know as well:)
Tags: Maria Sinayskaya, Star


Thanks for sharing this information they look great
Thank you! It’s a great star and such a nice tribute to Carla!
Great! The mandala looks stunning.
Thanks for the guide, I’ll try it for sure!
Lovely greetings!
Hello!
I love this star!
I´m actually writing to say that I am from Brazil, and where I come from (São Paulo), nobody calls these stars “mandala”, we would say “estrela” – with just one ‘l’. Mandalas are circled pieces of art to be put on a wall, something that comes from Buddhism. I think the same word is used in english, isn’t it?
Anyway, I really love the design and I’m going to try making that star right now!
Thank you!
Thanks for your comment, Nathalia! Now I know not everyone from Brazil calls this kind of thing mandala :) I still see it quite often on the net though.
In any case – mandala or not – the most important part of the name is “Carla” :) Estrela Carla sounds great too!
Folded my first Mandala Carla … Great folding sequenz! Beadutiful Modell!
Thank you Hans-Werner, glad you like it!
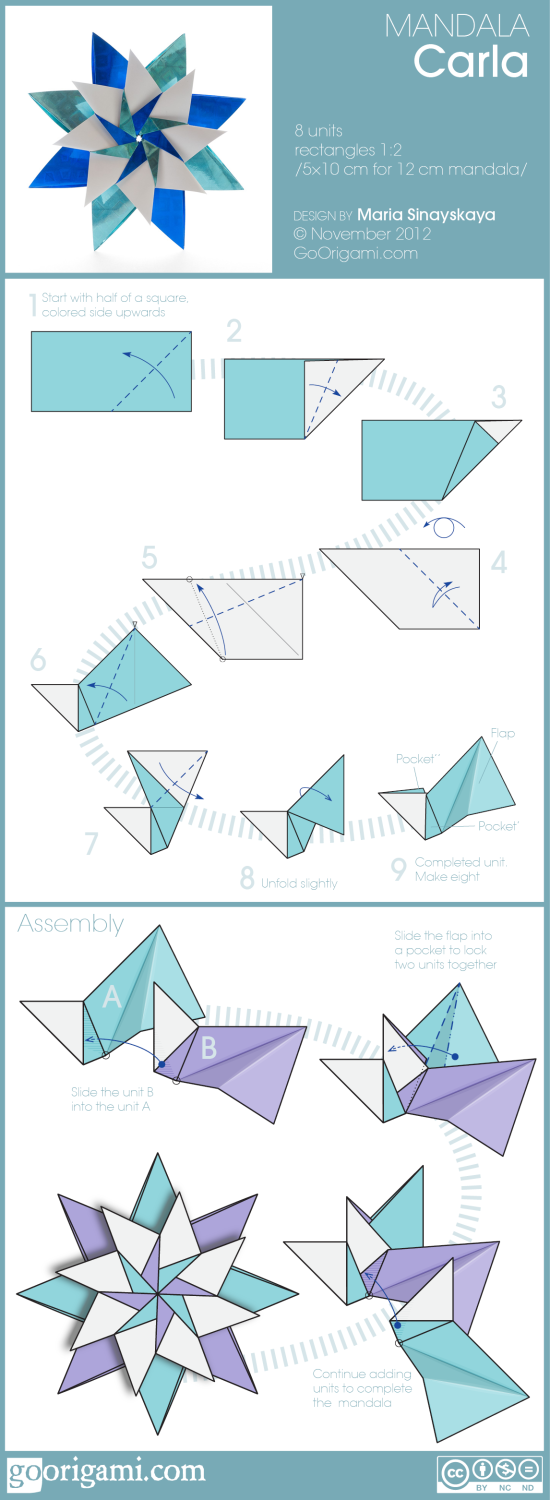
I find the diagrams to be confusing. You say they are squares to make the stars but they look like rectangles. Am I wrong. I am new to origami and I get confused really easily. If the instructions are not too clear then I am in trouble. Could you clarify?
Thanks
Hi Virginia – sorry, couldn’t answer you earlier. I guess you figured it out by yourself by now but just in case – the star is made not from squares but from half-squares, which are 1:2 rectangles.
So, for example, 5*10 cm rectangles will yield a 12-cm-tall star.
Thanks so much for this! I folded the Mandala Carla using 6cm x 12 cm pieces of Christmas wrapping paper which resulted in a 15 cm tall star for the top of my Christmas tree.
Wow! Being on the top of the Christmas tree is a big deal :) Happy holidays Sarah!
Hi Maria – Thanks for a new origami star and really nice Mandala.
Whenever i am folding the modules – i always have a bit of a problem in step 5. Does the fold bisect something? I finally had to measure and score that fold in order to get it right.
Maybe i am missing something?
Thanks much.
-Bhavna
Hi Bhavna – step 5 is a bit tricky because there are two conditions should be met at the same time:
1) a little triangle indicates a pivot point, that means that your crease starts there
2) a circle at the lower edge should hit the upper edge of the paper.
So, technically, you don’t really know where exactly the circle on the upper edge is until you make the crease!
There is also another way to find this point on the upper edge – the dotted line is an X-ray line, flip the unit over for a second to see what I mean.
Thanks Maria. I now see the little triangle in step 5.
I now have the mandala all done. My folds could definitely be better :)
Good thing you asked about that, Bhavna! Now I won’t make the same mistake!
Okay, I figured out something interesting. There actually is an exact fold to fold to. On the other side of the paper, there will be the edge of the bottom of the last fold made in step 3. Fold to that! It works!
Very nice job! You took very good pictures of this project! I like the one made with holographic! Oh, and you said the back doesn’t look nice… I agree with you, if it looks that good on the front side, then who cares about the back? :) I’m going to try to fold it! And one more thing, I’m pretty sure that the Brazilian name for this kind of star is “estrela”, not “mandala”! :D
Alright, I completed it and it looks really nice! I had a little trouble with the last unit, which is a bit trick to get into the right place, but it worked out just fine! It’s very pretty, and I may feature it on my “Origami Things” Google+ page!
This is really cool! Thank you for the diagrams!
Great tutorial! I loved it and the star looked beautiful! Thanks for the tutorial!
Really great tutorial. I made two stars already, the second one is nicer though. :-) Maria, I admire you ! Thanks for sharing.
Awesome diagram, I made one after breakfast. Now I will see the different variations possible!
Glad you liked the star:)
BTW, here are a couple of variations I made myself:
http://www.flickr.com/photos/goorigami/8336673475/
http://www.flickr.com/photos/goorigami/8204035736/
Bela homenagem! Tive o prazer de conhecer Carla pessoalmente no início deste ano, uma pessoa encantadora.
Thank you so much for sharing your talents and skills, and beautiful origam. I just discovered your website and am enjoying learning to fold the stars, especially to make hanging ornaments as a gift for Christmas. You are awesome!!!
Thank you very much for your kind words, Valerie!
Every december I get stack on your wonderful stars, Maria. They are so beautiful and simple! Your stars are really great for home decoration for the NY. Thank you!
Found your site quite late in 2018, wonderful stars, I’ll try as soon as possible!
-Obrigado por compartilha
Obrigado por compartilhar! Farei umas para enfeitar minha janela !